Data validation
The Desktop Office Spreadsheet Editor offers a data validation feature that controls the parameters of the information entered in cells by users.
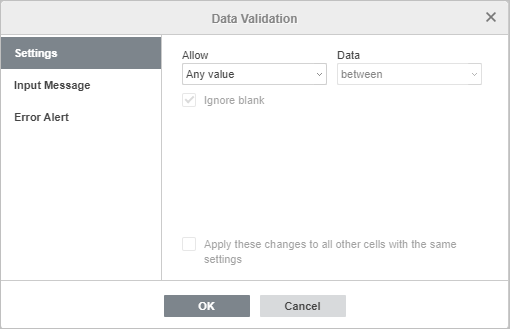
To access the data validation feature, choose a cell, a range of cells, or a whole spreadsheet you want to apply the feature to, open the Data tab, and click the Data Validation icon on the top toolbar. The opened Data Validation window contains three tabs: Settings, Input Message, and Error Alert.
Settings
The Settings section allows you to specify the type of data that can be entered:
Note: Check the Apply these changes to all other cells with the same settings box to use the same settings to the selected range of cells or a whole worksheet.
-
choose the required option in the Allow menu:
-
Any value: no limitations on information type.
-
Whole number: only whole numbers are allowed.
-
Decimal: only numbers with a decimal point are allowed.
-
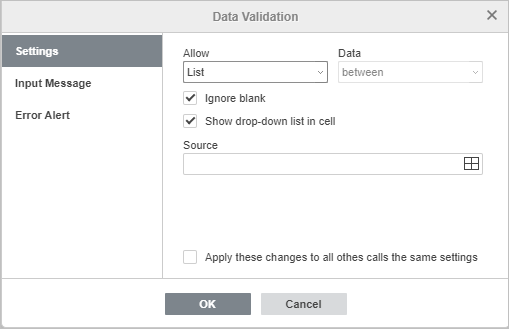
List: only options from the drop-down list you created are allowed. Uncheck the Show drop-down list in cell box to hide the dropdown arrow.
-
Date: only cells with the date format are allowed.
-
Time: only cells with the time format are allowed.
-
Text length: sets the characters limit.
-
Other: sets the necessary validation parameter given as a formula.
-
Note: Check the Apply these changes to all other cells with the same settings box to use the same settings to the selected range of cells or a whole worksheet.
-
specify a validation condition in the Data menu:
-
between: the data in cells should be within the range set by the validation rule.
-
not between: the data in cells should not be within the range set by the validation rule.
-
equals: the data in cells should be equal to the value set by the validation rule.
-
does not equal: the data in cells should not be equal to the value set by the validation rule.
-
greater than: the data in cells should exceed the values set by the validation rule.
-
less than: the data in cells should be less than the values set by the validation rule.
-
greater than or equal to: the data in cells should exceed or be equal to the value set by the validation rule.
-
less than or equal to: the data in cells should be less than or equal to the value set by the validation rule.
-
-
create a validation rule depending on the allowed information type:
|
Validation condition |
Validation rule |
Description |
Availability |
|---|---|---|---|
|
Between / not between |
Minimum / Maximum |
Sets the value range |
Whole number / Decimal / Text length |
|
Start date / End date |
Sets the date range |
Date |
|
|
Start time / End time |
Sets the time period |
Time |
|
|
Equals / does not equal |
Compare to |
Sets the value for comparison |
Whole number / Decimal |
|
Date |
Sets the date for comparison |
Date |
|
|
Elapsed time |
Sets the time for comparison |
Time |
|
|
Length |
Sets the text length value for comparison |
Text length |
|
|
Greater than / greater than or equal to |
Minimum |
Sets the lower limit |
Whole number / Decimal / Text length |
|
Start date |
Sets the starting date |
Date |
|
|
Start time |
Sets the starting time |
Time |
|
|
Less than / less than or equal to |
Maximum |
Sets the higher limit |
Whole number / Decimal / Text length |
|
End date |
Sets the ending date |
Date |
|
|
End time |
Sets the ending time |
Time |
As well as:
-
Source: provide the source of information for the List information type.
-
Formula: enter the required formula to create a custom validation rule for the Other information type.
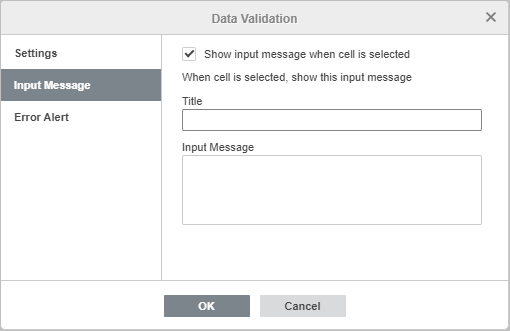
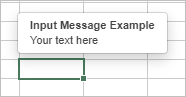
Input Message
The Input Message section allows you to create a customized message displayed when a user hovers their mouse pointer over the cell.
-
Specify the Title and the body of your Input Message.
-
Uncheck the Show input message when cell is selected to disable the display of the message. Leave it to display the message.
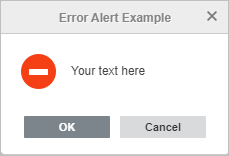
Error Alert
The Error Alert section allows you to specify the message displayed when the data given by users does not meet the validation rules.
-
Style: choose one of the available presets, Stop, Alert, or Message.
-
Title: specify the title of the alert message.
-
Error Message: enter the text of the alert message.
-
Uncheck the Show error alert after invalid data is entered box to disable the display of the alert message.